
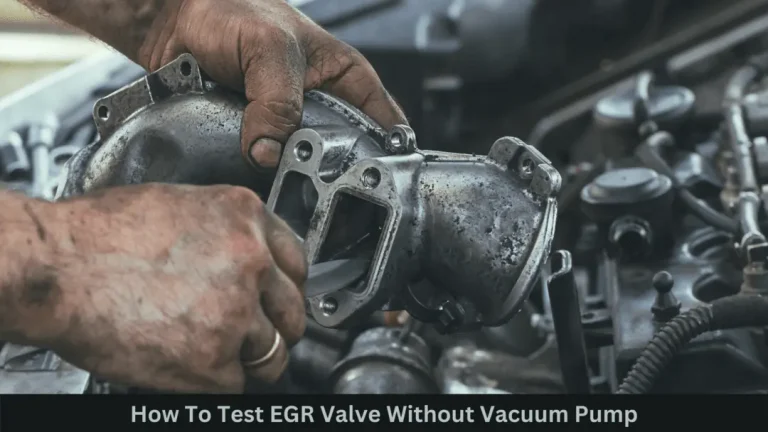
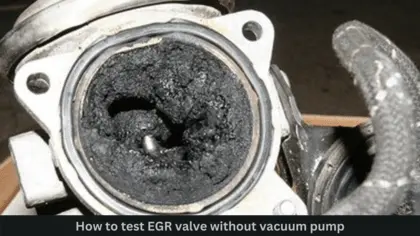
Sooner or later, you are bound to find issues with valves and the EGR system. From the exhaust gas, the accumulation of small carbon particles in the intake passages for a long-time clog the exhaust gas channel that is in the valves of the EGR system and also the tubes. The valve’s plunger mechanism is also affected by this. You can do an easy test and then get the issue fixed. So, how to test EGR valve without vacuum pump?
It is a quite straightforward and simple process to test the EGR without a vacuum pump. This test will also keep your parts and other EGR system components from getting damaged. So keep reading to learn how to test EGR valve without vacuum pump along with some vital details.
What does the EGR valve do?

In order to reduce detrimental NOx, a certain amount of exhaust gas from the EGR valve re-enters the system, which alters the chemical composition of the engine’s air. There are two primary settings in the EGR system: one open and one closed. The engine will emit more air if it is accelerating more power. EGR valves help with combustion efficiency improvement and also knock tolerance.
A huge amount of low combustion temperature gases that contain toxic oxides of nitrogen is emitted by the EGR system. However, after you start the engine, and as their speed rises, the gases start to flow slowly. But failing this flow pattern will cause your engine performance to decline. Mostly, the EGR system’s valve failure is the reason for this circumstance. Thus, before your engine become completely idle, you need to test the EGR valve.
You may search for: Cummins DPF and EGR delete kit.
How to test EGR valve without vacuum pump
The performance of the engine is directly related to the EGR system, which means it is a sensible thing. If the EGR system is faulty, it will begin to trouble the engine operation. Here are the steps that you can follow to test the EGR valve in order.
Related Engine: common Dodge 4.7 engine problems.
Find the EGR valve
The EGR valve is typically a thick, round, and metallic disc and has a diameter of about 3 inches. Find out where it is placed. In most cases, you will be able to locate it on one side or the upper area of the engine.
However, not all cars have them in the same place. In some vehicles, you will find the valves below the bottom components. If you still can’t find it, then take help from the car manual. Since each car model has its own configuration, you should find it in the manual.
Now, let’s focus on the process of EGR valve testing. Follow the step-by-step process.
Manual testing
Using a vacuum pump is common for the testing of the EGR valve. However, not many know that it can be done manually as well. There is a little diaphragm, plunger, and spring in the strong metal disc of the valve that maintains its usual close position. During the time of repair, there is a small underside that you need to find to get the valve opening access.
Open the valve first. At the start of the EGR valve opening, stick your finger and press on the diaphragm. If you are unable to reach the diaphragm for some reason or find it difficult to move, don’t worry.
All you need to do is make the valve passages inspection for carbon deposits. See if it is enough to restrict the plunger’s movement. Then go to the next step.
Testing the diaphragm situation of the valve
Wear and tear befall the diaphragm of the valve. Thus, they may leak exhaust gas. Follow the below steps to find out the position of the hidden diaphragm that is inside the valve case.
- Put on the parking brake to restrict all the wheels of the car.
- Start the car’s engine.
- Take a carburetor cleaner can and then insert it using a thin straw tip.
- Now, find out the small crack at the cleaner’s bottom open part and spray it on the diaphragm.
If you see a rise in the RPM of the engine after spraying toward the carburetor spray valve, you should understand that there is a leak in the diaphragm. Now, it’s time to replace it as soon as possible.
Look for diaphragm or stem movement
Follow the below process for testing the movement of the EGR valve system:
- Step 1: At first, turn the engine on and then wait for about 15 minutes to let the engine arrive at the operating temperature. If you are in a hurry, then 10 minutes would also be fine.
- Step 2: Now, increase the speed of the engine to 2500 RPM. Use your hand to release the accelerator while increasing the RPM. Then, quickly press the paddle and take someone’s help to release it.
- Step 3: Check the diaphragm movement while doing this work. You can also use a small hand mirror if needed.
- Step 4: If the diaphragm isn’t moving, detach the vacuum hose from the valve’s surface. Now, put your finger on the opening of the vacuum hose and detach it the same way you did a little bit ago.
- Step 5: Accelerate the engine’s RPM again just like the above step. If there is no noticeable change in vacuum pressure during this, you should understand that the issue is from the circuit. At this point, reconnect the EGR valve and the vacuum hose.
Different types of EGR valve
EGR valves have multiple categories. Initially, the vacuum was used to operate the valve. However, now, electronic control systems are being used by car models.
- High-pressure diesel EGR valve: It converts high soot and high flow exhaust gas prior to entering the diesel particulate filter. Also, soot oil and vapor can be combined to make sludge.
- Low-pressure diesel EGR valve: It converts the exhaust while it passes through the filter.
- Gasoline EGR valve: This is as same as some high-pressure diesel. Plus, it removes exhaust. And the EGR valve eventually regulates its own flow.
Related exhaust: best WRX exhaust
Conclusion
While a vacuum pump is a great way for testing EGR valves, there are other ways that you can try to test the EGR valve comfortably and effectively. From this article, you have learned how to test EGR valve without vacuum pump. Now, it’s time to apply what you have learned. Hopefully, this was helpful for you.
